
An Introduction to Jupyter Notebooks#
In this section you will learn about Jupyter Notebooks and how to use them for interactive programming with Python.
The lab-automation course is written using jupyter notebooks.
Learning Outcomes#
You will learn how to:
Install Jupyter
Start a notebook server
Program in notebooks
Write Markdown text
References#
What is Jupyter#
From the Jupyter project website:
The Jupyter Notebook is an open-source web application that allows you to create and share documents that contain live code, equations, visualizations and narrative text.
Installing#
There are different ways of installing jupyter notebooks. For beginners we recommend using a conda based distribution, and install the jupyter notebook with the command conda install jupyterlab in case it is not installed yet. Alternatively, you can also install jupyter using pip or if you are on Linux using your Linux package manager.
Running#
Jupyter notebooks are accessed via the browser, however in order to do this you need to first start a server.
In Windows you can first select Minforge prompt in the start menu, which will open a console. In the console you can start the server by typing the command jupyter notebook, and the server will start and automatically open a notebook window in your browser. Note that jupyter notebook does not support internet explorer. If internet explorer is your default browser, you will have to manually copy the URL appearing in the console to your supported browser.
Also note that the current directory of the console where you start the notebook server is going to be the “home” directory where your notebooks get created.
The instructions for starting the notebook server for Mac OS or Linux are similar except that you will type the jupyter notebook command from any terminal, which will have to be activated with conda in case you are using a conda based distribution (see section 3).
Interface#
When you first start the server you will see the dashboard, which should look something like this:
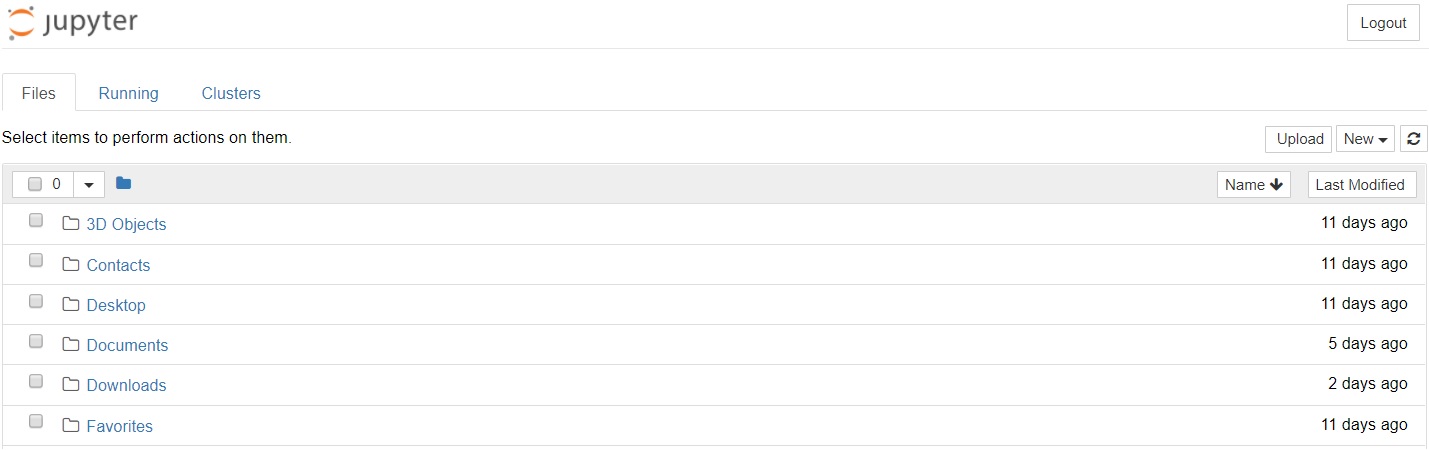
This is the dashboard from where you can create new notebooks, or open existing notebooks.
Once you have started a notebook you can see the toolbar and the editor area. The first thing you should do is to check the user interface help.
Cell modes#
Jupyter notebooks have two different modes
Edit mode where you can edit cells and enter or text into cells
Command mode where you execute cells, move them up and down etc.
The two modes are indicated by the border and the bar on the right. In Edit mode the bar is green, in Command mode the bar is blue.
Executing cells#
The cells are essentially small execution environments. You enter your code and then execute using shift-Enter. The output will be printed below the cell
print("hello world")
hello world
Execution order#
Have you noticed the numbers in front of the cells? They indicate the execution order.
Importantly the execution order is not necessarily the order of the cells, because you can always go back and forth can execute different cells with a random order.
Basic Shortcuts#
To more easily work with notebooks you should know some of the keyboard short-cuts. You can look them up under the help menu. The shortcuts are different in the two modes and differ slightly by operating system.
The most important ones are:
Command mode
shift + enterrun cell, select belowctrl + enterrun cellalt + enterrun cell, insert belowAinsert cell aboveBinsert cell belowCcopy cellVpaste cellD,Ddelete selected cellshift + Mmerge selected cells, or current cell with cell below if only one cell selectedI,Iinterrupt kernel0,0restart kernel (with dialog)Ychange cell to code modeMchange cell to markdown mode (good for documentation)
Edit mode
ctrl + /toggle comment linestabcode completion or indentshift + tabdocumentation for the command under the cursor.ctrl + shift + -split cell
Text#
One of the great features about Jupyter notebooks is that you can add structured text to your notebooks. You can thus use them for more than just coding, but also document your code, or even write a paper using the notebooks.
Markdown#
The way to write structured text in notebooks is using the markdown dialect. Markdown is a lightweight, easy to learn markup language for formatting plain text. Its syntax has a one-to-one correspondence with HTML tags, so some prior knowledge here would be helpful but is definitely not a prerequisite. It is a simple way of adding to structure to your documents that remains readable in text.
# This is a level 1 heading
## This is a level 2 heading
This is some plain text that forms a paragraph.
Add emphasis via **bold** and __bold__, or *italic* and _italic_.

Paragraphs must be separated by an empty line.

* Sometimes we want to include lists.
 * Which can be indented.

1. Lists can also be numbered.
2. For ordered lists.

[It is possible to include hyperlinks](https://www.example.com)

Inline code uses single backticks: `foo()`, and code blocks use triple backticks:
bar()
Or can be intended by 4 spaces:
foo()
And finally, adding images is easy: 
Magic Commands#
Jupyter includes also a number of ‘magic’ commands that enable accessing special functions. There are two type of magic commands:
commands indicated with a
%sign are line magic commands everything on the same line is part of the magic commandcommands with
%%are cell magic commands everything in the cell is a magic command
Jupyter has a magic command to show all magic commands
%lsmagic
Available line magics:
%alias  %alias_magic  %autoawait  %autocall  %automagic  %autosave  %bookmark  %cat  %cd  %clear  %code_wrap  %colors  %conda  %config  %connect_info  %cp  %debug  %dhist  %dirs  %doctest_mode  %ed  %edit  %env  %gui  %hist  %history  %killbgscripts  %ldir  %less  %lf  %lk  %ll  %load  %load_ext  %loadpy  %logoff  %logon  %logstart  %logstate  %logstop  %ls  %lsmagic  %lx  %macro  %magic  %mamba  %man  %matplotlib  %micromamba  %mkdir  %more  %mv  %notebook  %page  %pastebin  %pdb  %pdef  %pdoc  %pfile  %pinfo  %pinfo2  %pip  %popd  %pprint  %precision  %prun  %psearch  %psource  %pushd  %pwd  %pycat  %pylab  %qtconsole  %quickref  %recall  %rehashx  %reload_ext  %rep  %rerun  %reset  %reset_selective  %rm  %rmdir  %run  %save  %sc  %set_env  %store  %sx  %system  %tb  %time  %timeit  %unalias  %unload_ext  %who  %who_ls  %whos  %xdel  %xmode

Available cell magics:
%%!  %%HTML  %%SVG  %%bash  %%capture  %%code_wrap  %%debug  %%file  %%html  %%javascript  %%js  %%latex  %%markdown  %%perl  %%prun  %%pypy  %%python  %%python2  %%python3  %%ruby  %%script  %%sh  %%svg  %%sx  %%system  %%time  %%timeit  %%writefile

Automagic is ON, % prefix IS NOT needed for line magics.
Exercises (5-10 mins)#
Start a notebook server
Do a hello world program
Find out what the %run magic command does (hint use the
shift-tabdocumentation)